Back in the very beginning of summer I posted about this rocking chair I had snagged at a garage sale for $5, for the purpose of attempting to participate in the furniture refinishing craze. My friend Annie, from Living Life with the Klinkners was my partner in crime the whole way through this redo.
I am in love with how our first ever furniture redo turned out!!! It's not perfect, but I learned something every step of the way and am excited to keep an eye out for more pieces of furniture that could use some TLC.

Annie is going to share our first couple of steps, the sanding and priming, here... so no scrolling down until you check it out.
...
...
...
...
...
...
Once we were all sanded and primed it was time to break out the color. We decided we wanted a "statement" color. Annie and I both tend to select "safe" colors so we wanted to use this opportunity to really step out and play with something bold!

We made sure we were good and set up (with our paint brushes and wine glasses and Dexter-like garage setting) before we popped open the paint can.

The color we finally selected was "swizzle stick" by Valspar's Allen Roth collection and I think it was a perfect choice!!! (It's definately prettier in person than it's showing up in my pictures)

Here's our first coat. We painted with brushes instead of a sprayer due to the cost factor. The paint went on very easily though, so I don't think we really missed having a sprayer at all!

Here's after the second coat

We ended up applying about 4 coats of paint and then we used a clear poly coat in a spray can to finish the job. We applied the poly in light even coatings and used 3 cans to do 3 coats on the rocker.
After all that we had this beautiful glistening rocker!!!

I just love how the paint brings out the special details on the rocker


With everything turning out so well, I just knew I had to add pillows, which I wanted to make by following tutorials I'd been seeing on some of the blogs I read.
Here's our rocker decked out with the fancy pillow swag I made!

Pillow detail shot

For the seat cushion I was able to get a super clearanced cushion at Pier1 which I used as a pattern and then the interior of my rocker seat cusion. I just added ruffles b/c I love them!

Here's a shot of ties in the back

I followed this tutorial for my flower pillow and just made it smaller by using a 14" pillow form.

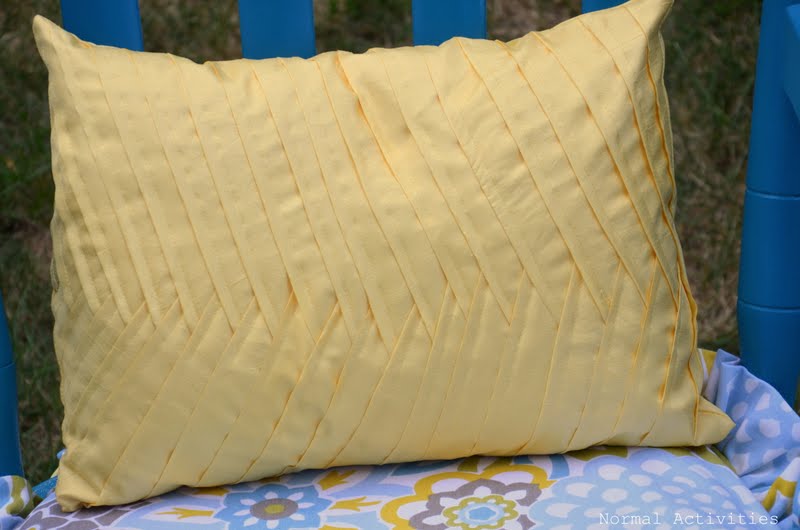
And I followed this tutorial for my herringbone pillow
(mine's a little rough though, I'm gonna have to give this one another try in the near future)
So what do you think??? Do you love how it turned out as much as I do???
Are you at least going to give these awesome pillow tutorials a try???
This is being linked to:
missmustardseed.blogspot.com
and